Thursday, October 10, 2024

Lasercutting and 3D printing in the Barber Shop

3d printing 

  1. Click on Prusa Slicer


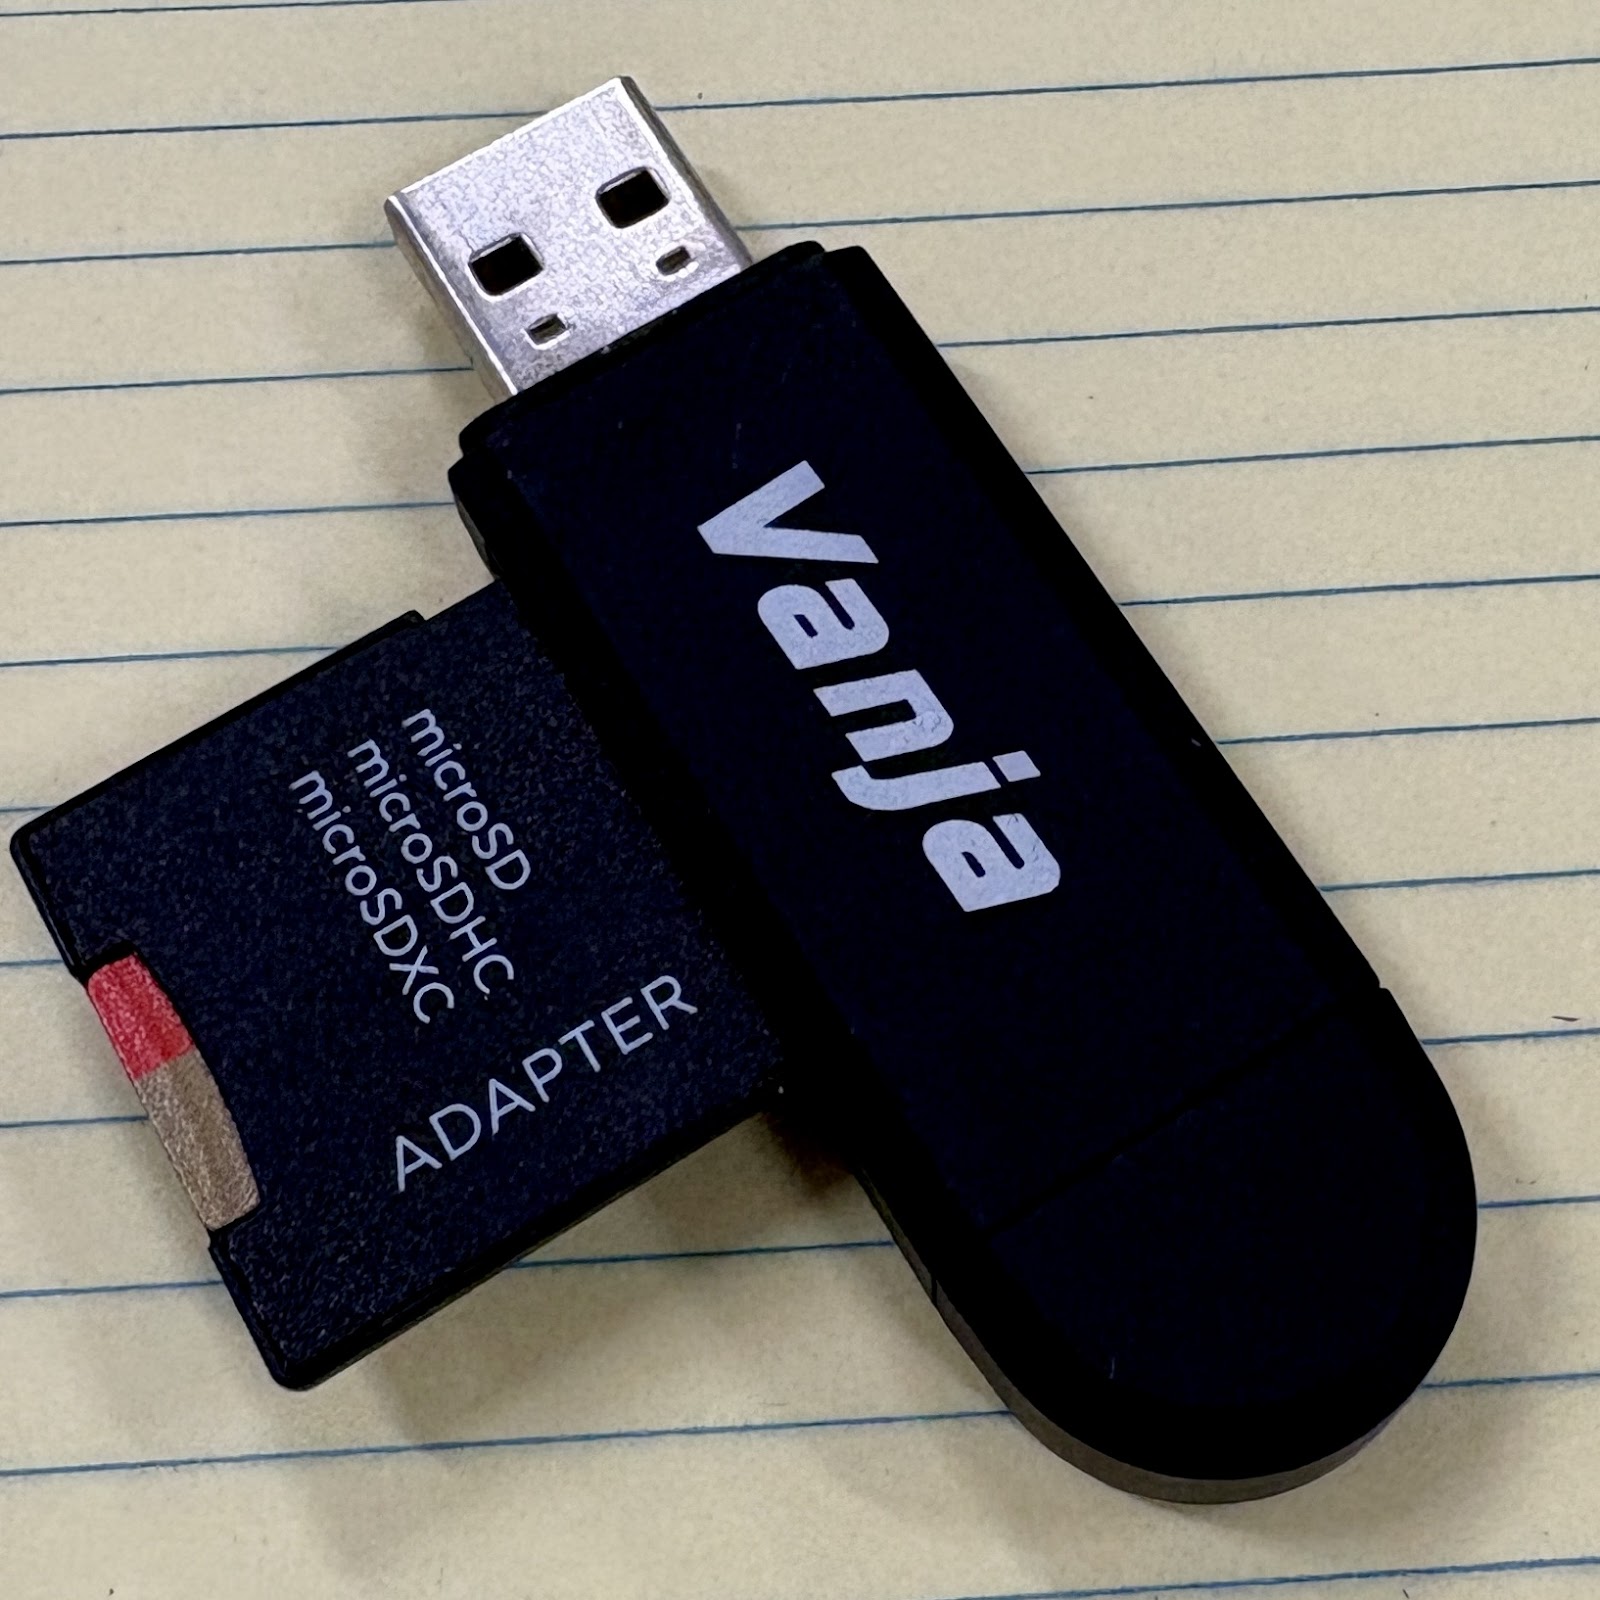
  1. Pull out the SD card, plug it into the Vanja “Thumb Drive” and plug that into the computer


  1. Click on Add.


  1. Find your .STL file in the 00001BARBERTECHNOLOGYFOLDER without typing (the list SHOULD be in ABC order … double click or click and open.


  1. Click Slice Now in the Bottom Right corner.


  1. Click Export GCODE in the Bottom Right corner.


  1. Find “USB Drive” on the left side to save it in. (Save)


  1. Click the Eject Button (NOT THE X).


  1. Remove the Vanja and SD Card and put them back where you got them (Vanja Thumb Drive goes back in the Orange Tray & SD Card goes back in the Prusa- MAKE SURE THE METAL IS FACING YOU.


  1. Turn the knob clockwise until it points > to your file and then poke it in quickly like a button. DO NOT HOLD IT IN TOO LONG.


Lasercutting

PROTOTYPES ON CARDBOARD MUST BE APPROVED BEFORE YOU CAN LASERCUT FINAL PRODUCTS ON BIRCH

  1. Open your Adobe Illustrator Project. After the previous lasercut is done, click File & Print.

  2. On the Print Window, click Print.

  3. Click on the red lasercutter icon (next to Adobe Illustrator on the taskbar).

  4. If all your lines are bright red and blue, you are ready to move your design. If it is light & gray, STOP! Click on the button with 4 arrows. Some squares will appear. Drag the squares to move your design around. Take care not to miss and accidentally ZOOM in.

  5. The “Focus View” button to the left of “arrows button” will put a red laser pointer dot on the material. Click on all the edges and corners to make sure your design will fit on your material (the top has to be open for the red dot to appear).

  6. Once you are sure it will fit, click on the magnifying glass button to change the red “Go” button to “Settings”.

  1. Cardboard

Click on the Manual Control Tab:

MAKE SURE TO CLICK “APPLY” AFTER EACH ROW

  1. BIRCH, go to Materials Database, then click on

+ next to Natural

+ next to Wood

+ next to Hard Wood

Then click on the actual words General Hard Woods

Set the thickness to ____ (Calipers???)

AFTER YOU HAVE RUN IT ONCE, IT MIGHT NOT HAVE CUT THROUGH!! You might need to run red only again!


Color

Mode

Power

Speed

PPI

Black

Skip

doesn’t matter, just click Apply

Blue

Rast/Vect

100%

40%

500

Red

Rast/Vect

100%

12%

300


7. BASSWOOD, go to Materials Database, then click on

+ next to Natural

+ next to Wood

+ next to Soft Wood

Then click on the actual words General Soft Woods

Set the thickness to ____ (Calipers???)

AFTER YOU HAVE RUN IT ONCE, IT MIGHT NOT HAVE CUT THROUGH!! You might need to run red only again!

You’re ready to lasercut!

  1. Shut the lasercutter, and DON’T LET IT SLAM!! 

  2. Turn on the fan, by flipping the light switch on the outlet behind the lasercutter. 

  3. Click the big, green play button to start it. 

  4. Monitor it closely to make sure it doesn’t catch on fire. If it DOES catch on fire … yell, scream, and freak out until Mr. B comes running over. 

  5. After the duh-duh noise from previous cuts, the next person can click File >> Print as you can cut off the fan and retrieve your lasercut!!

FIRE??? If it DOES catch on fire … yell, scream, and freak out until Mr. B comes running over. Post-fire, we open the garage door and point every fan OUT. Leave the exhaust fan on, even though we won’t lasercut for a bit!


Using CAD as a plan for the Wood Shop

 Using CAD as a plan for the Wood Shop

We can plan scale models of what we plan to build in the shop by scaling 1mm : 1".

H.O.W.S. Large Doghouse
Barber Bench

Home Depot Picnic Table

To start off, we need to create 2x4s, 2x6s, and plywood sheets. Then we are going to rip-cut a 2x6 in half. Remember that a 2x4 isn't 2" x 4" ... it's 1.5" x 3.5" because the pressure-treating compresses it and makes it smaller.

The 2x4s that I have in the shop are 8 feet long. How many inches is that?

The 2x6s that I have in the shop are 8 feet long.

The 2x8s that I have in the shop are 8 feet long.
 
Plywood comes in 4' x 8' sheets and the ones I have are 3/4" thick, which is better than 1/2" thick, and will warp less both before we attach the floor and roof and after, when the dogs live in the doghouse.


You need to write down the 3 dimensions in inches for a sheet of Plywood, a 2x4, a 2x6, a 2x8, and a 2x6 cut in half the long way (sort of a 2x3).

Then you are CADding a "Username Lumber" project that has all 5 pieces of wood. Start with the red block and then change the dimensions to match what you have written down.


You can type the numbers in the boxes to easily make it the correct size.


The black cone is how you pull the 2x4 into the air, while the curved arrows (can you see all 3?) are how you rotate it. You can also type numbers in the box when you are rotating.

You should do this for all 5 pieces of wood. Compare with members of your team. Check each others' measurements!
  1. Plywood 
  2. 2x4
  3. 2x6 
  4. 2x8
  5. Then, copy and pasted 2x6 and change the 5 1/2" length to half of that for a rip cut half 2x6.